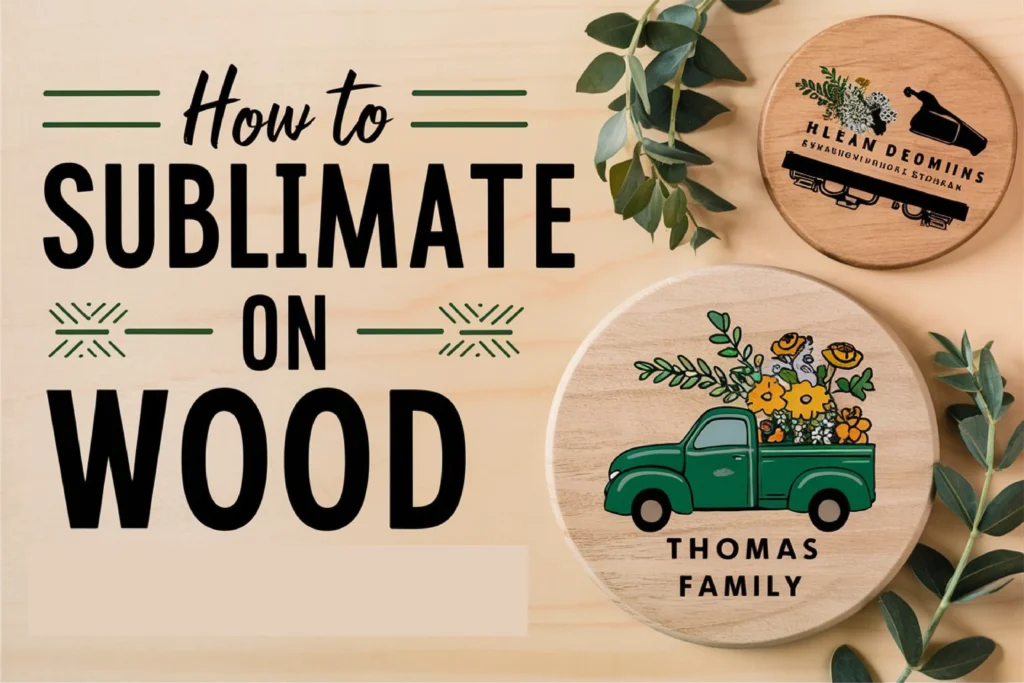
Looking to sublimate on wood? I’ve been curious about sublimation on wood, so I decided to test out a few methods to see what works best. Should you use laminating sheets on wood? Can you sublimate directly onto plain wood? How about using polycrylic—will that work for sublimation? I’ll be answering these questions and more!
Let’s go over the supplies you’ll need.
Supplies needed:
- Hiipoo Sublimation Ink
- Hiipoo Sublimation Paper
- Epson EcoTank Printer
- Laminating sheets
- Wood surfaces (wood, MDF, and chipboard surfaces shown)
- Polycrylic
- White paint
- Craft knife
- Paintbrush
- Cutting mat
- Heat resistant tape
- Heat press
- Protective paper
- Heat resistant gloves
- Heat resistant mat
Sublimation Printing
First, we’ll need to print our sublimation designs. I’ll use my sublimation printer to print different sheets of paper. For these experiments, I’m using Hiipoo Sublimation Paper, which works with Epson, Sawgrass, and Ricoh sublimation printers. I’m using my converted Epson EcoTank.
Tip: I prefer sublimation papers with a colored back, so it’s easy to tell which side to print on. The Hiipoo Sublimation Paper has a pink back, making it simple to know which side is the wrong side.
Testing Methods
To start with, You can try sublimating some small wood shapes as a test. I did the following methods to see if they would work:
- Plain wood
- Two coats of polycrylic
- Two coats of a multi-surface paint plus two coats of polycrylic
- Laminating film
The first three are fairly easily understandable, however, let’s take a look at adding that laminating film to wood.
Adding Laminating Film
I’m using thermal laminating pouches, the kind you’d normally use in a laminator. When you open these pouches, you’ll notice one side is flat and the other is shiny. I’ll cut a piece just big enough to cover my square shape, with the flat side facing the heart.
Using laminating sheets for wood sublimation can be a bit messy because we’re basically melting the laminating film onto the wood. To keep things large, I’m cutting a piece of protective paper to sandwich the wood and laminating film. This way, there’s paper on both the top and bottom to protect my heat press. I’ll press it at 375°F for about 15 seconds to get the laminating film to stick to the wood.
Now that I’ve taken the square shape with the laminating sheet off the press, the film is securely attached to the wood. However, it needs a bit of trimming. I place the laminating sheet face down on a cutting mat and carefully use a craft knife to trim around the outer edge. This removes all the excess laminating film from around the design.
After cutting all the way around, discard the excess piece and double-check for any remaining bits on the edges. If needed, you can gently sand any small, thin pieces away. Now, you’ve got your piece with the laminating film perfectly trimmed on top! Next, let’s dive into the sublimation process on this surface.
Sublimating on Test Pieces
Now that we have all four squares ready—plain wood, laminating film, two coats of polycrylic, and paint with polycrylic on top—we’ll place each heart face down on top of the sublimation print. To keep them organized, I’ve labeled the back of each. To secure them in place, I’ll use a couple of pieces of heat-resistant tape.
To protect everything during pressing, create a sandwich with paper on the top and bottom of the squares. Press at 375°F for 90 seconds with medium pressure. Make sure the sublimation sheet is facing up when you place it in the press.
Test Results
The plain heart transferred some ink, but not very much. The laminating sheet turned out much brighter with a lot of ink transferred perfectly. However, the polycrylic samples didn’t work well at all—the sublimation paper melted and stuck to both samples.
Based on this, I’m not a fan of using polycrylic for sublimation on wood. I really prefer using the laminating sheet instead. It seems like the laminating sheet is the best choice for achieving good results with sublimation on wood.
Water Test
Before wrapping up with these test pieces, I wanted to check the colorfastness. I used a piece of white cotton and some water to rub each sample and see if any ink would come off. The plain square showed some ink coming off when rubbed. However, with the laminating sheet, the ink didn’t come off at all—it’s securely bonded to the laminating sheet.
Sublimation on Painted Wood vs Unpainted Wood
Let’s apply the laminating sheet method to both plain wood and painted wood for a project. I pressed a laminating sheet onto both pieces at 375°F for about 15 seconds. You might notice some of the wood showing through the white on the plain wood piece. When heating real wood, sometimes liquid can come to the surface, causing brown spots. Despite that, I’m still going to proceed with this piece because I think it might add a unique, rustic look to the overall design.
Let’s proceed by turning these over and using a craft knife to trim around the laminating sheet, following the same process we used for the squares earlier.
Next, add each of the letters to a sublimation print and tape them down securely.
Note: You can use the same protective paper as used for the laminating process. Place the entire setup inside protective paper and press at 375°F for 90 seconds. Repeat this process for the unpainted letter as well.
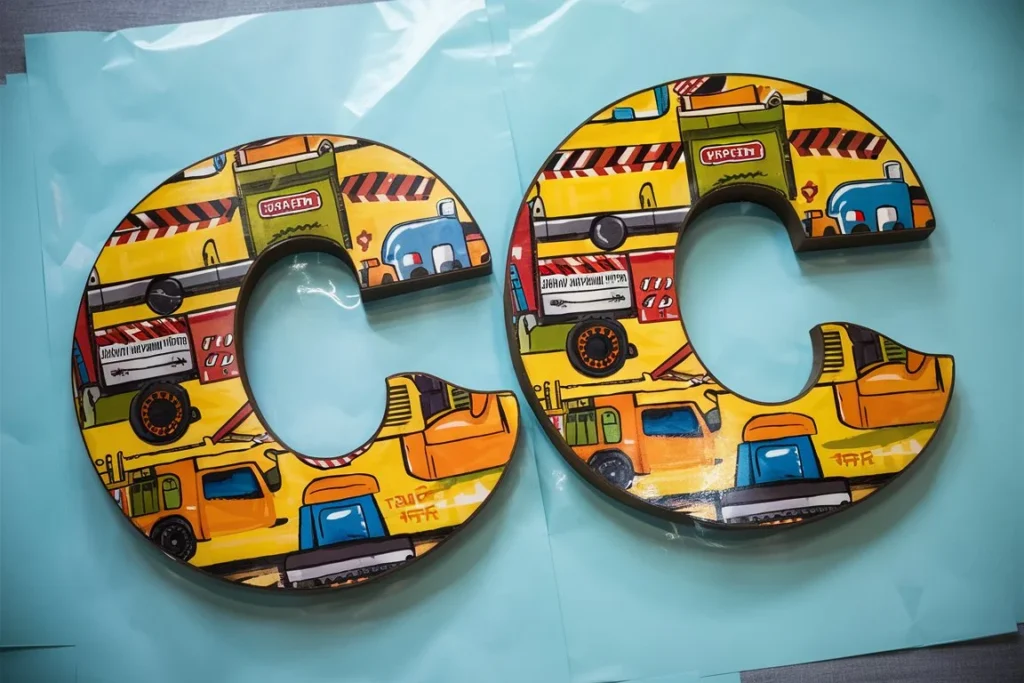
With the painted wood, you’ll notice some brown showing through where liquid has come to the surface. This gives a rustic appearance through the white wood. As for the other letter, you’ll see the natural color of the plain wood coming through the sublimation, casually changing the color. In contrast, the white one likely stays accurate to the sublimation print’s color. Overall, I’m really impressed with how well the Sublimation Paper transfers onto my wood surfaces.
Sublimation on MDF and Chipboard
I’m eager to test the laminating sheet process on both MDF and chipboard to see the different looks we can achieve. One of my blanks is slightly longer than both the laminating sheet and the sublimation print, so I’ll experiment a bit by joining the laminating sheets and the sublimation print together.
Right now, I’ll press the laminating sheets onto the blanks and trim around the edges to prepare them for sublimation.
Pressing and trimming the MDF was really easy, but the chipboard was a bit trickier. When trimming the painted chipboard, I had a hard time avoiding digging into the edges. On the unpainted one, some layers started to separate while I was cutting around. Also, complex designs take longer and are harder to trim smartly.
After trimming, you can simply attach your sublimation print to the front of each piece and secure it with tape, similar to how we did with the samples. For the longer version, I’m correcting the sublimation print as well. Then, press again at 375°F for 90 seconds.Here are all our pieces after sublimation. Take a look at the differences—you can really see how the white paint alters the appearance of the whole project. Personally, I’m particularly fond of the white MDF version; it’s a clear winner for me. With MDF, unlike real wood, there’s no issue with sap coming to the surface, so the finished project looks really clean and sharp.
I also noticed that with the piece I connect, you can see the line where the laminating sheet overlapped. It might be better to stick to the size of the laminating sheet or sublimation paper you have to avoid these lines in your final product. Overall though, I’m really pleased with how my experiments with sublimation on wood turned out!
What is the best way to sublimate on wood?
From my experience, sublimating directly on the wood didn’t give the best results. Laminating sheets turned out to be the better choice for me. I found that I preferred the painted wood over the plain unpainted version. And personally, MDF stood out as the clear winner in this experiment.
Personally, I found the painted MDF to be the most appealing. If you stick to simpler shapes, you’ll likely find the overall process more satisfying too. While it’s tempting to tackle more complex shapes and trim away at the laminating sheet, starting with a simple monogram for your first sublimation on wood experience might be more enjoyable and less challenging.
I think you’re going to really enjoy this project, especially if you already have a sublimation printer and want to explore new paths beyond shirts. Wood crafts open up a whole new realm now that you know how to do sublimation on wood! There are countless possibilities to explore with this technique!
I’m off to brainstorm more MDF shapes that could use a sublimation print. This process is much simpler than something like embroidery Just grab some laminating sheets and give it a try yourself—you’ll be pleasantly surprised!Next time you’re looking to add a design to wood, consider using your sublimation printer. Incorporating sublimation on wood into your crafting toolkit will elevate the professional appearance of all your projects.
FAQs
Q1: Can you sublimate directly onto plain wood?
Sublimating directly onto plain wood can be challenging and may not yield optimal results. It’s generally recommended to use a coating or protective layer like laminating sheets to achieve better outcomes.
Q2: Should you use laminating sheets on wood for sublimation?
Yes, using laminating sheets on wood for sublimation is highly recommended. It helps create a smooth surface for the sublimation transfer, resulting in vibrant and durable prints.
Q3: Will polycrylic work for sublimation on wood?
Based on my experiments, polycrylic didn’t work well for sublimation on wood. The sublimation paper tended to melt and stick, compromising the final result. Laminating sheets or other coatings are preferable.
Q4: What types of wood surfaces can you use for sublimation?
You can use various wood surfaces such as natural wood, MDF (Medium-Density Fiberboard), and chipboard for sublimation. Each surface may require different preparation and handling techniques.
Q5: How do I avoid visible lines from laminating sheets on my sublimation prints?
To minimize visible lines where laminating sheets overlap, it’s best to use sheets that match the size of your sublimation paper or project. This helps ensure a seamless finish without noticeable edges.
Q6: What are the benefits of using sublimation on wood?
Sublimation on wood allows for vibrant and permanent designs that integrate well with various craft projects. It offers versatility in creating personalized gifts, home décor, and promotional items with professional-quality prints.
Q7: Is sublimation on wood a beginner-friendly craft?
While sublimation on wood requires some initial experimentation and understanding of materials, starting with simpler shapes and following basic techniques can make it accessible for beginners.
Q8: How does sublimation on wood compare to other crafting techniques like decoupage?
Sublimation on wood offers a more streamlined process compared to techniques like decoupage. It involves fewer layers and allows for direct printing of intricate designs without the risk of lifting or wrinkling.
These FAQs should provide helpful insights into the process of sublimation on wood, guiding you towards successful and satisfying craft projects.


